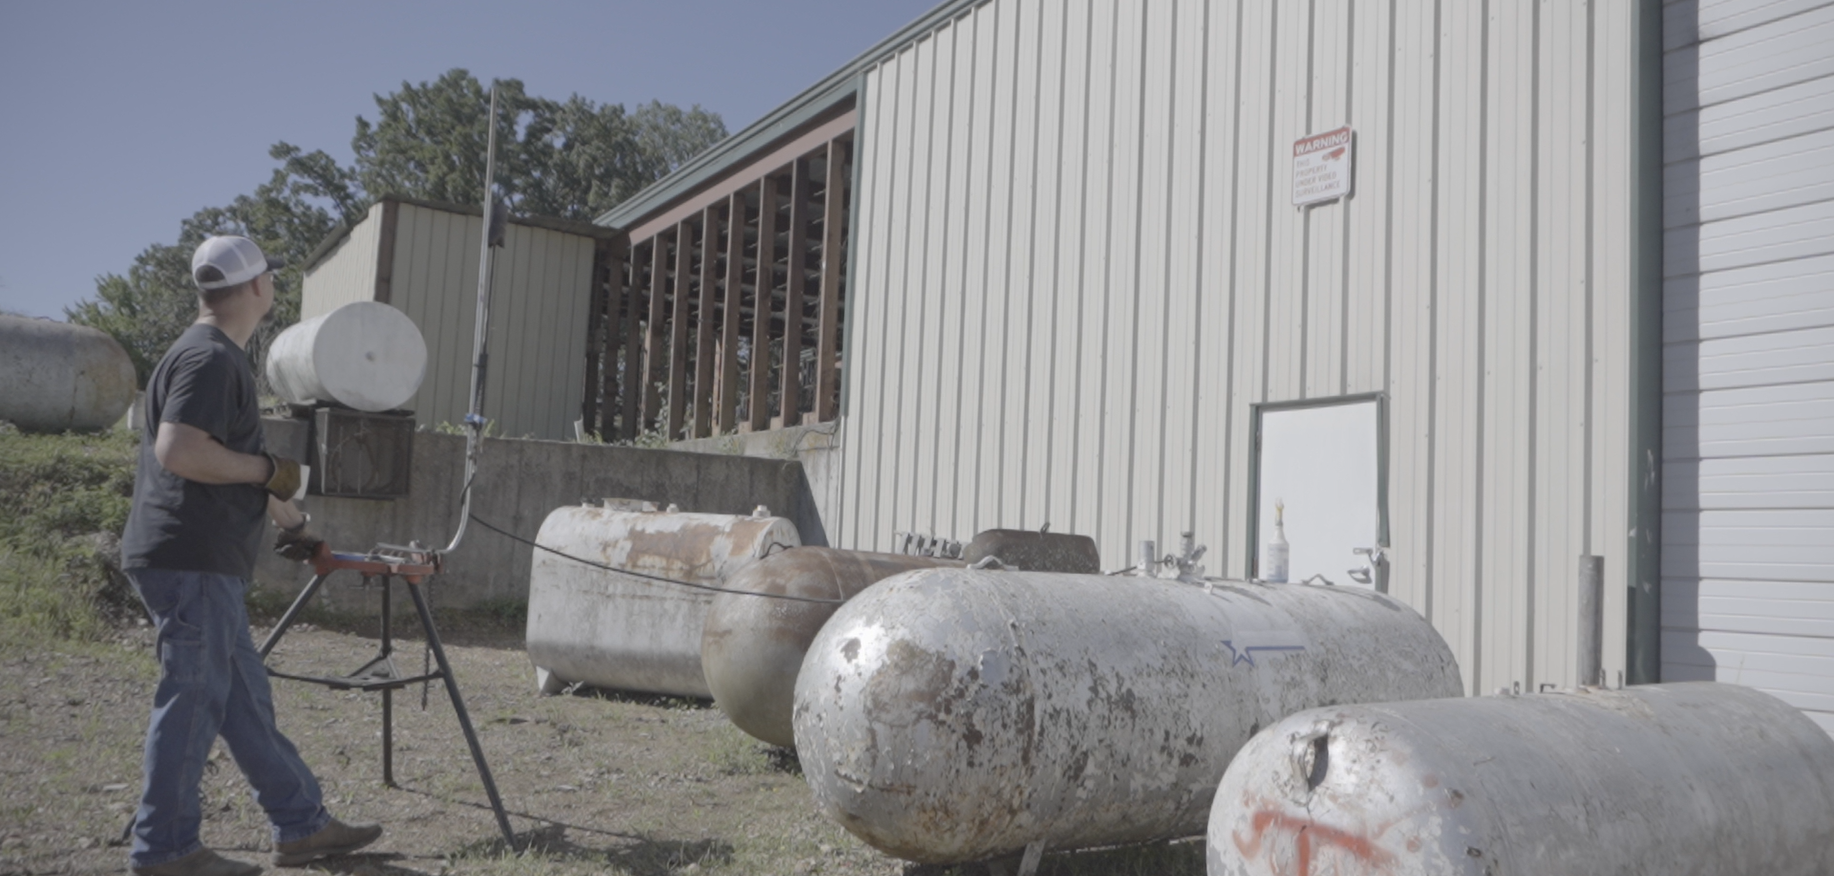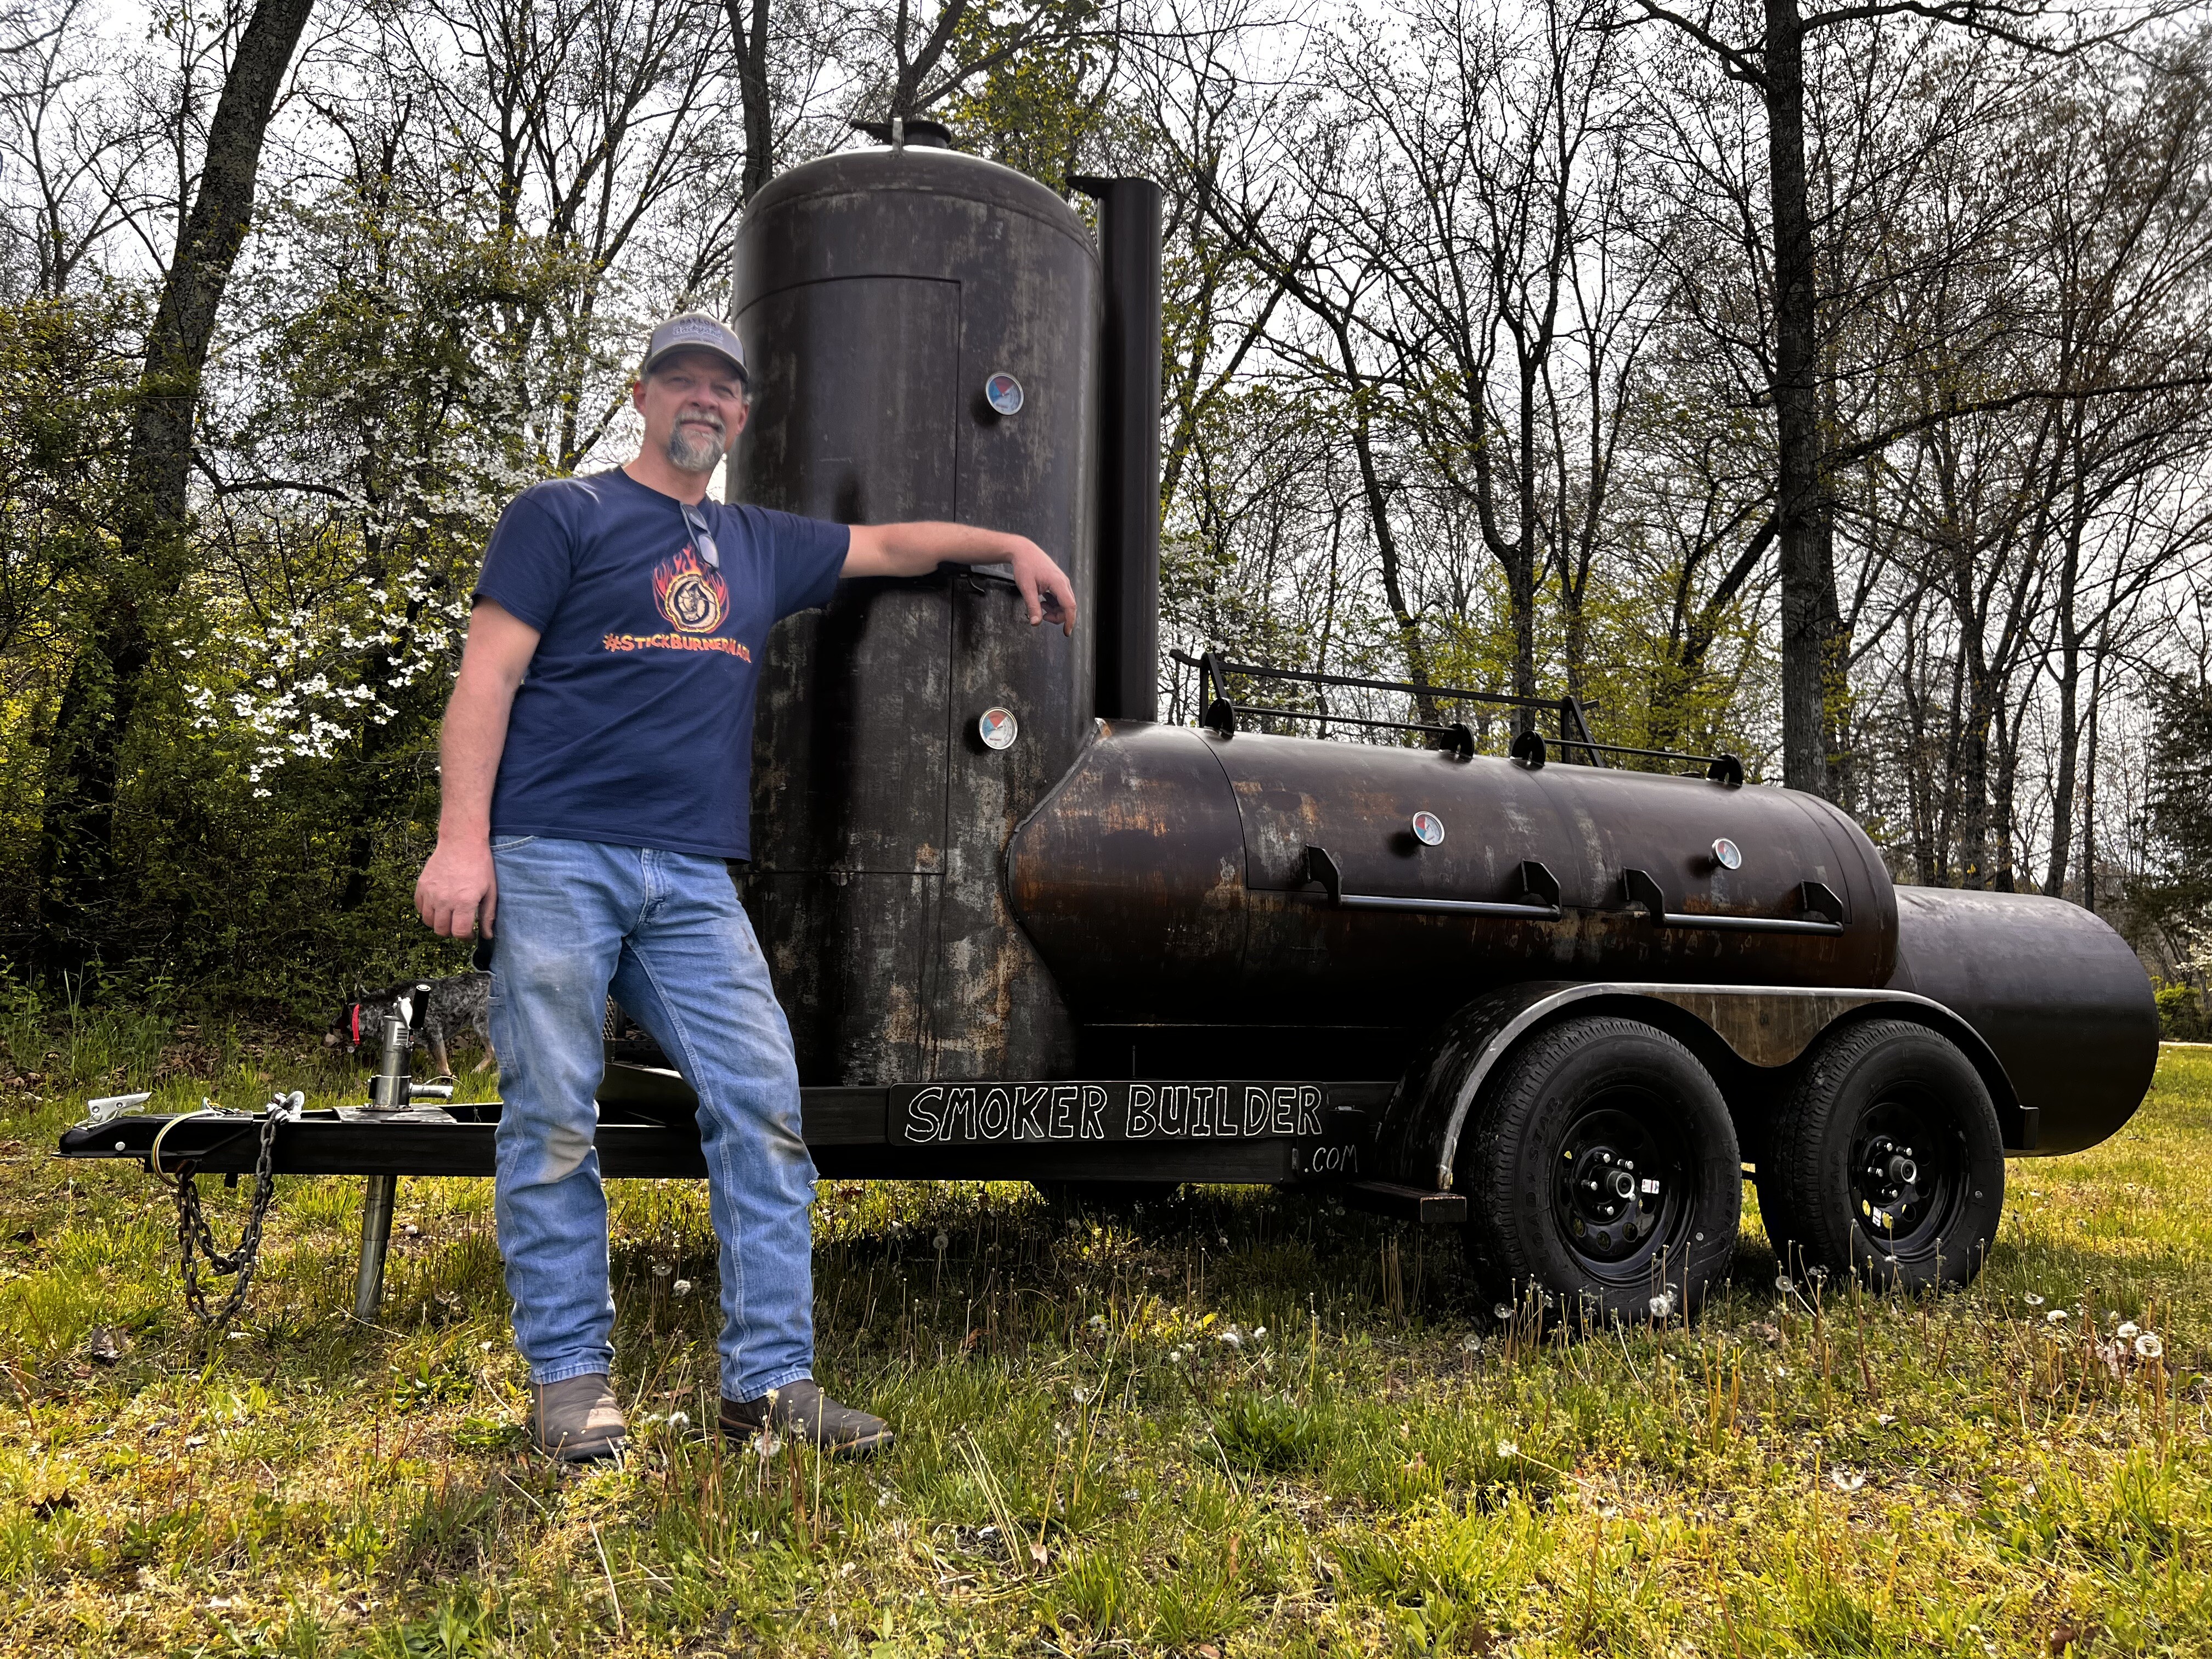
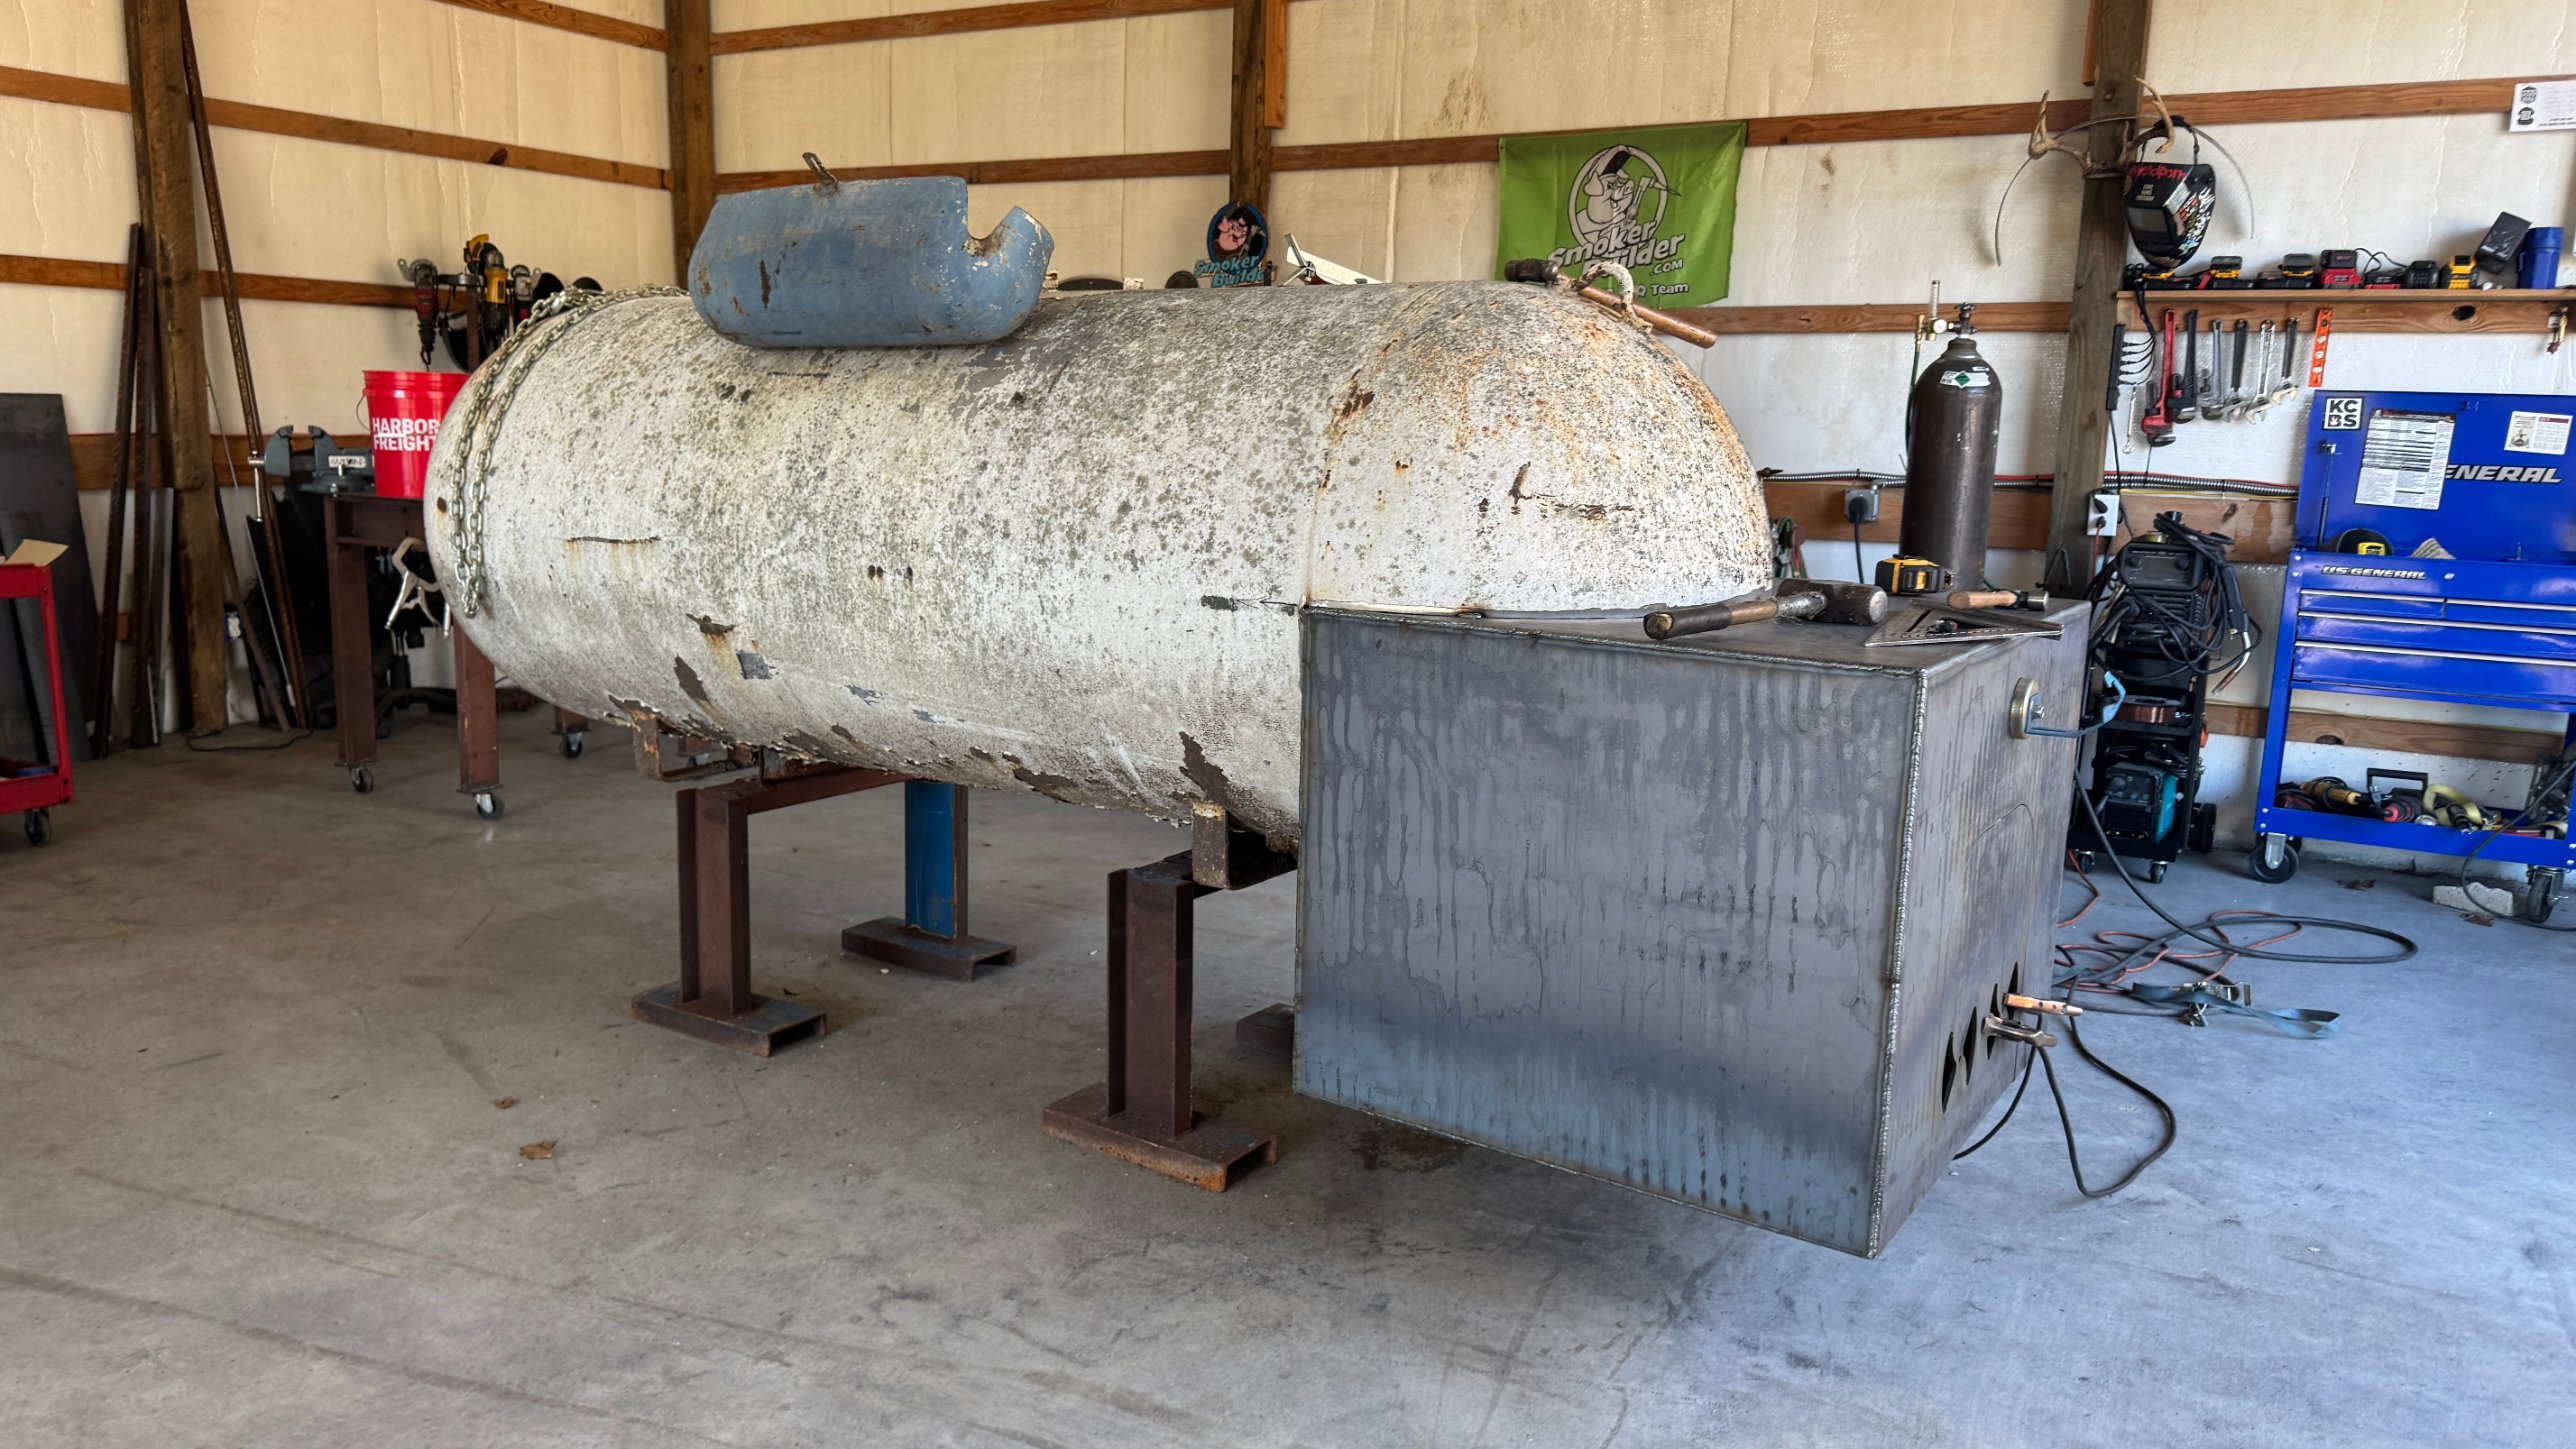

This is the order I build a propane tank offset in. From a bare tank on the stands to mounted on the trailer and oiled.
The order matters on a tank because the tank moves.
A propane tank starts life as flat steel. It gets rolled, forced to fit the heads and welded out. So the first time you cut it, everything relaxes. It's going to boing. That's where the spring in your doors comes from.
The one tank I ever had twist on me longways… that was because I cut too much stuff at once.
So the whole idea of the order is simple. Anchor the parts that hold the tank's shape before you cut the parts that let it move. And don't cut everything at once.
If you haven't picked your size or your tools yet, start here first: DIY Smoker: What Your First Build Takes.
The build order at a glance
- Start with a tank that's purged with the valves out
- Get your environment set
- Lay out the tank
- Firebox first, then the collector box
- Doors last
- Fit it all up, then weld it out
- Build the trailer
- Mount the smoker on the trailer
- Finish it
1. Start with a tank that's purged with the valves out
Before any of this, the tank has to be safe to cut.
A tank refurbisher or a propane company is probably your safest bet. The tank shows up already purged with the valves out.
If purging a tank scares you, don't do it. Buy one that's already done. More on that in the first build article, and in these:
Check: look where the valve was. It should be an open hole.
2. Get your environment set
A level working field is my first step on every build.
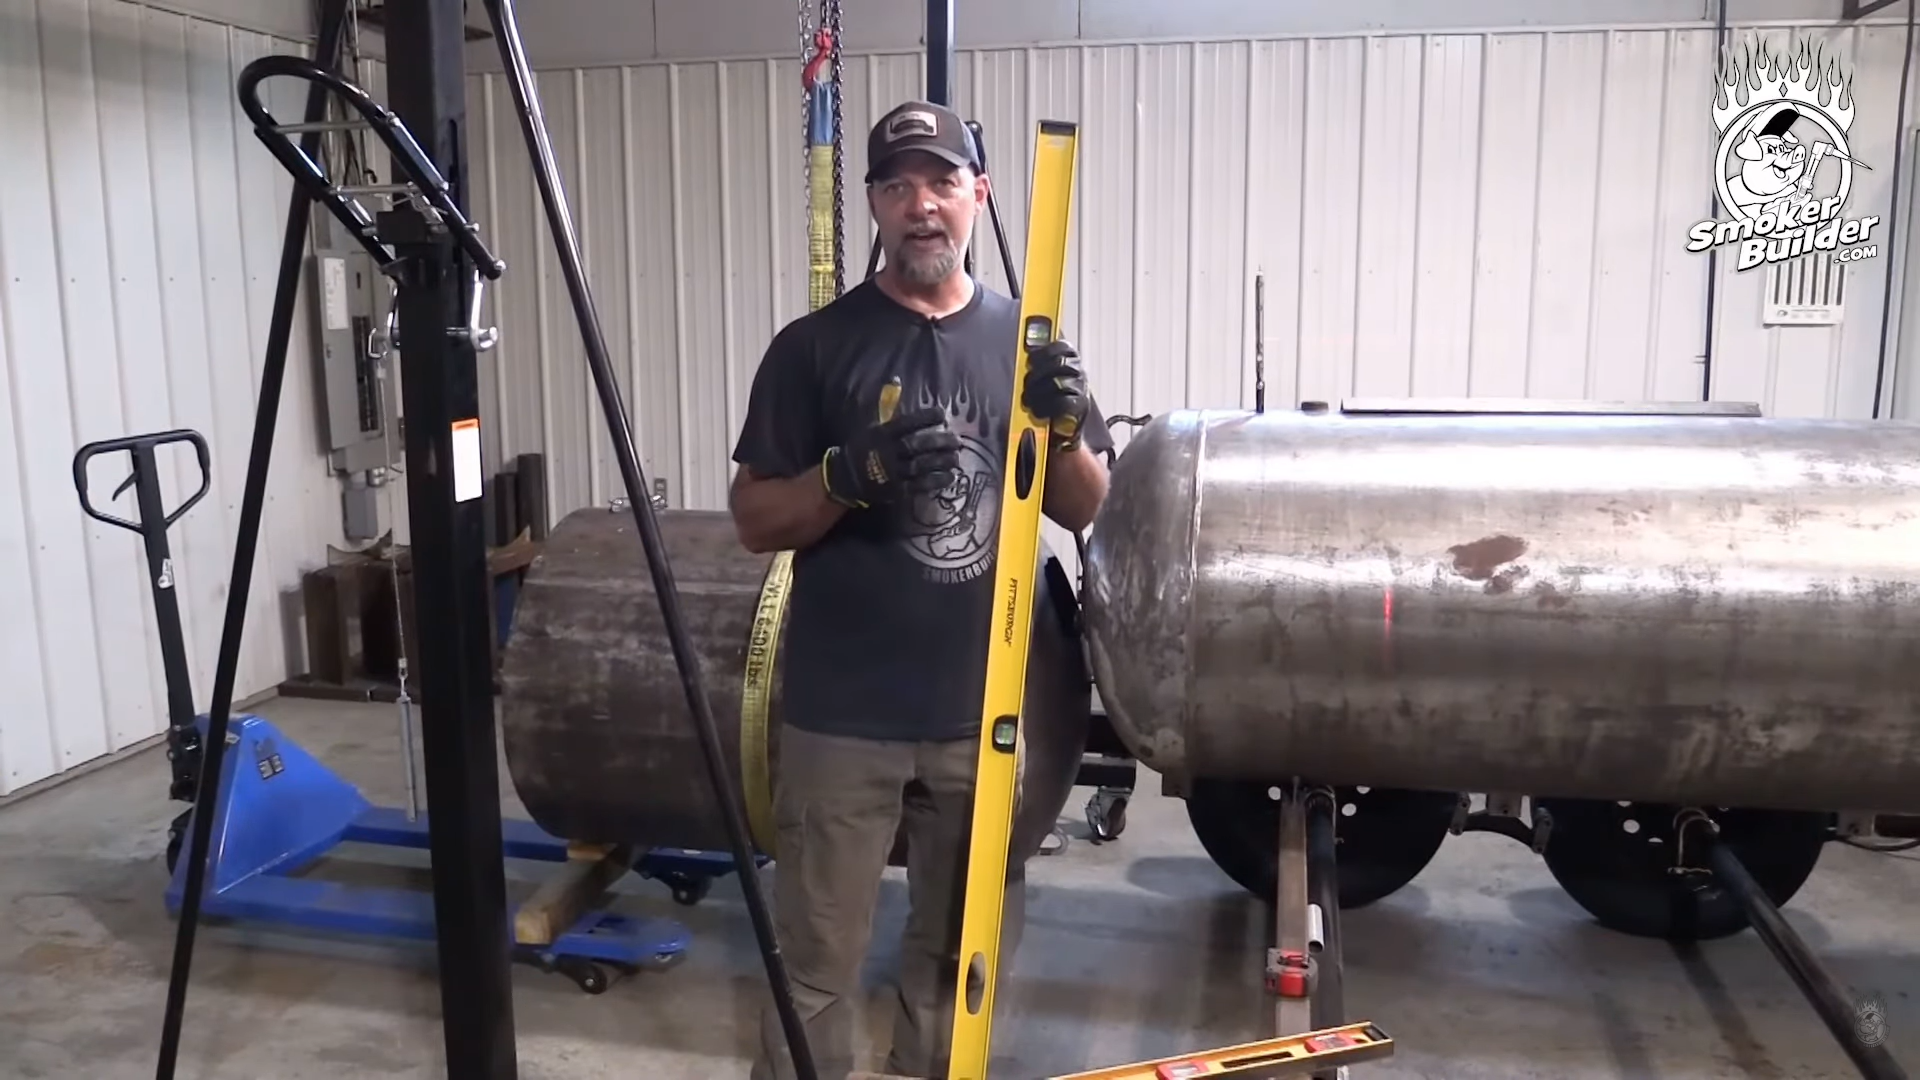
Every line you lay out on that tank comes off it. Top dead center, the 3:00 line, the doors, the collector box, the firebox opening. If you've got a quarter inch of fall across your stands, all of that is a quarter inch out.
Here's how I set it up:
- Stands with a V or a swoop on top. That keeps a round tank from rolling. I put a T foot on the bottom, usually about 10".
- Level them with a laser. Bump a tape off the top of each stand and read the laser on it. Shim the low side up. You can't make a stand shorter without cutting it, so you always shim the low side.
- Keep the stands in out of the way. The tank is going to sit there a long time. Set the stands in far enough that they're not under where you'll cut the end or put your drain, so you don't have to move anything later.
- Tack each stand to the tank. Put the tack somewhere you can cut it easily later. You're just keeping it from rick-racking and rolling around.
Check: after you shim, the laser should read the same on your tape at both stands.
3. Lay out the tank
Now that you have a level working field, you can trust your marks.
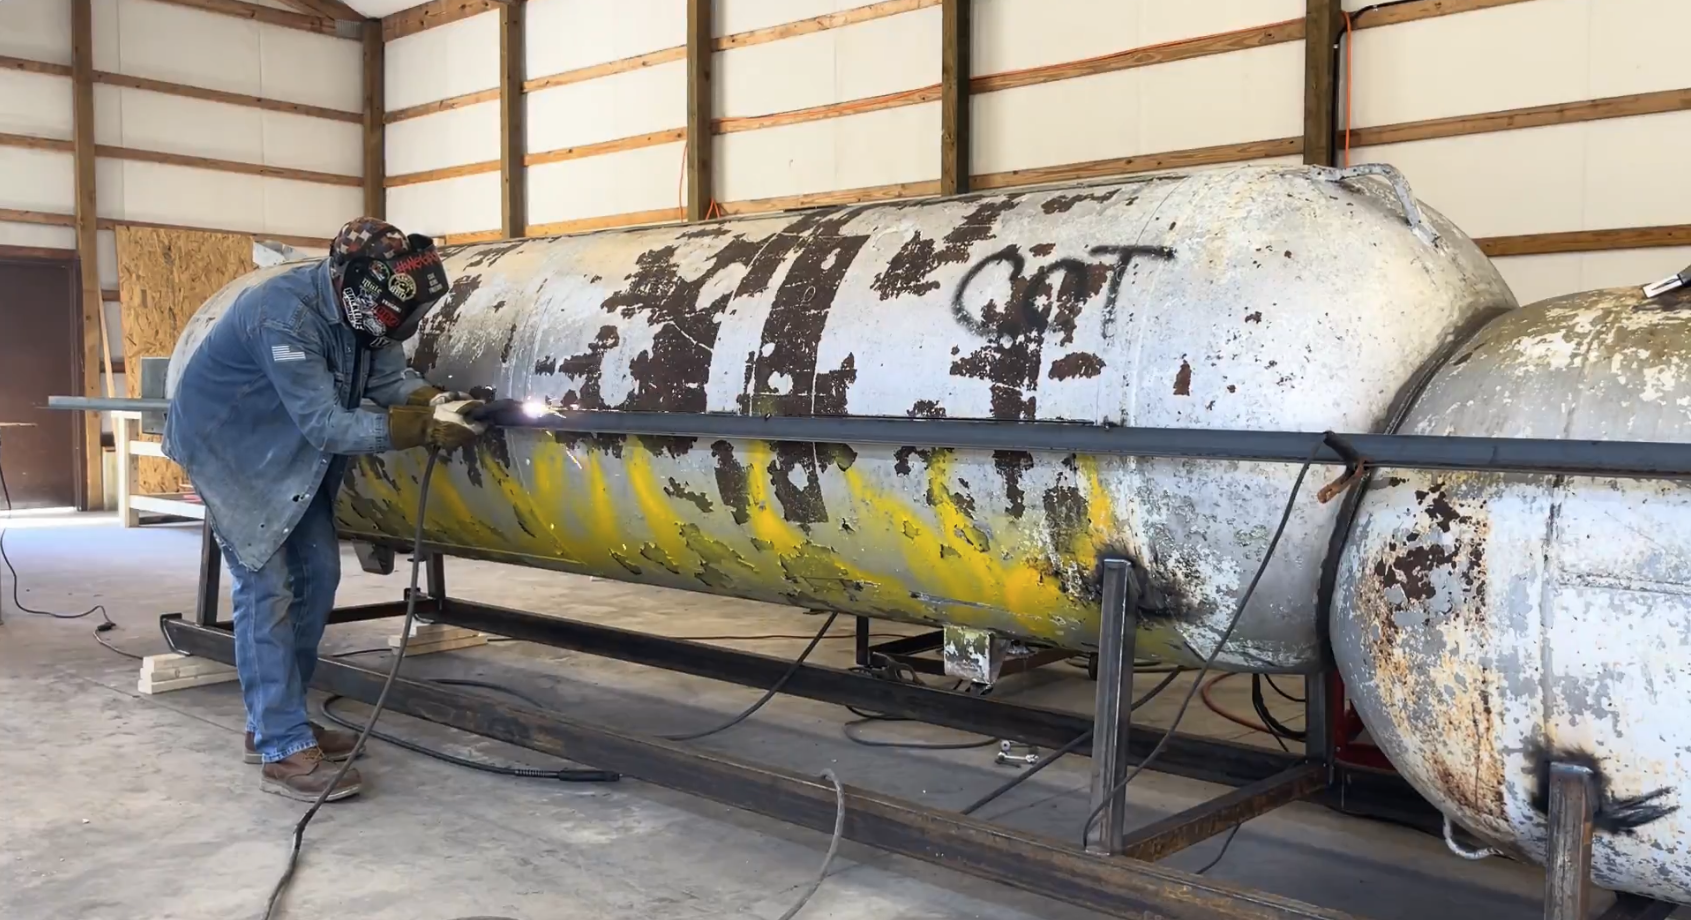
Square off the factory head weld seam. It's a machine seam, not a human weld, so it's reliably square. Use a center head square to find top dead center, and a chalk line to carry lines around the tank.
Lay out everything you'll need… top dead center, the 3:00 line, the collector box, the firebox opening and the drain.
That 3:00 line is where I like my cooking grate. It's also where the bottom of the doors gets cut later. On an offset, the top of the firebox lands at or above that grate line.
Check: check your lines with a 3-4-5 triangle before you cut anything. 3 feet one way, 4 feet the other, and the diagonal should read 5.
4. Firebox first, then the collector box
Our secret on doors is to get the firebox in first. Then get the collector box made up.
Those two heads are the ones that are going to move things the worst. Once the firebox and the collector are anchored in place, they keep the heads from moving.
So in this order:
- Cut the firebox notch. Fit the firebox and tack it in.
- Cut the collector hole. Fit the collector box and tack it in.
- Cut your bungs and plug them now, before the doors. I did bungs after doors one time and it twisted the whole tank.
And here's my number one don't. Never cut every hole on a tank at once, especially a propane tank. Firebox notch, doors, collector box all at the same time… you're just asking for trouble.
Fitting a firebox to a round tank: How I Fit A Round Propane Tank Firebox
Building the collector: How To Make The Collector Box and How To Mount The Collector Box
Check: the firebox and the collector are both tacked and anchored before a single door line gets cut.
5. Doors last
We don't even touch the doors until all of that other stuff is cut and in.
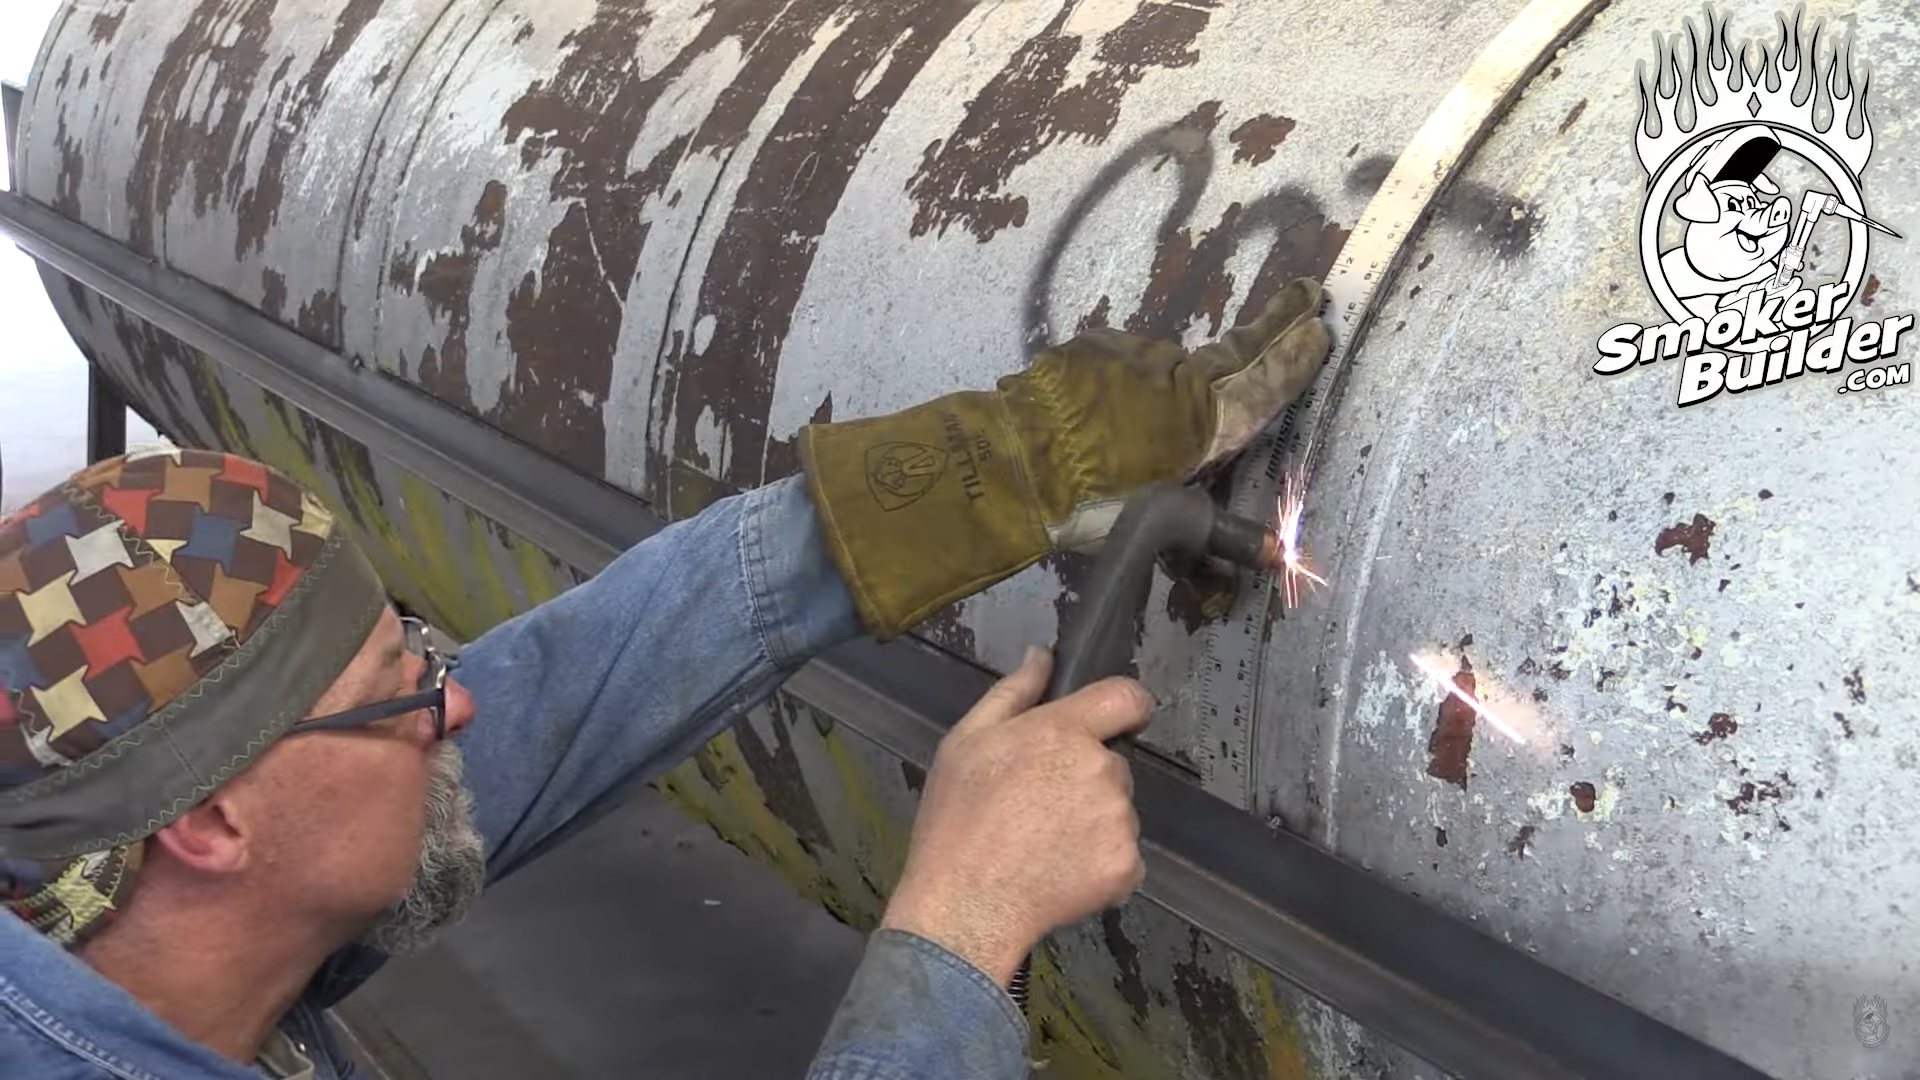
Lay the doors out and cut them. A couple of things I do here:
- Bring the top cut down around the front. On a 250 I'll come down about 4". On a 1,000 gallon it's closer to 8". That takes weight out of the door and can help you skip a counterweight.
- Hinges go on after the door is cut out. Not before. Otherwise you end up cutting hinges back off.
When a door won't line up. About 70% of the time it's the tank, not the doors.
A little spring is normal. Up to about 3/16" is a judgment call and I leave it. More than that, pull the tank back true. A Porta Power or a lever chain hoist does it, or round bar tacked corner to corner across the door. If you follow the order above, you probably won't need gussets of any kind.
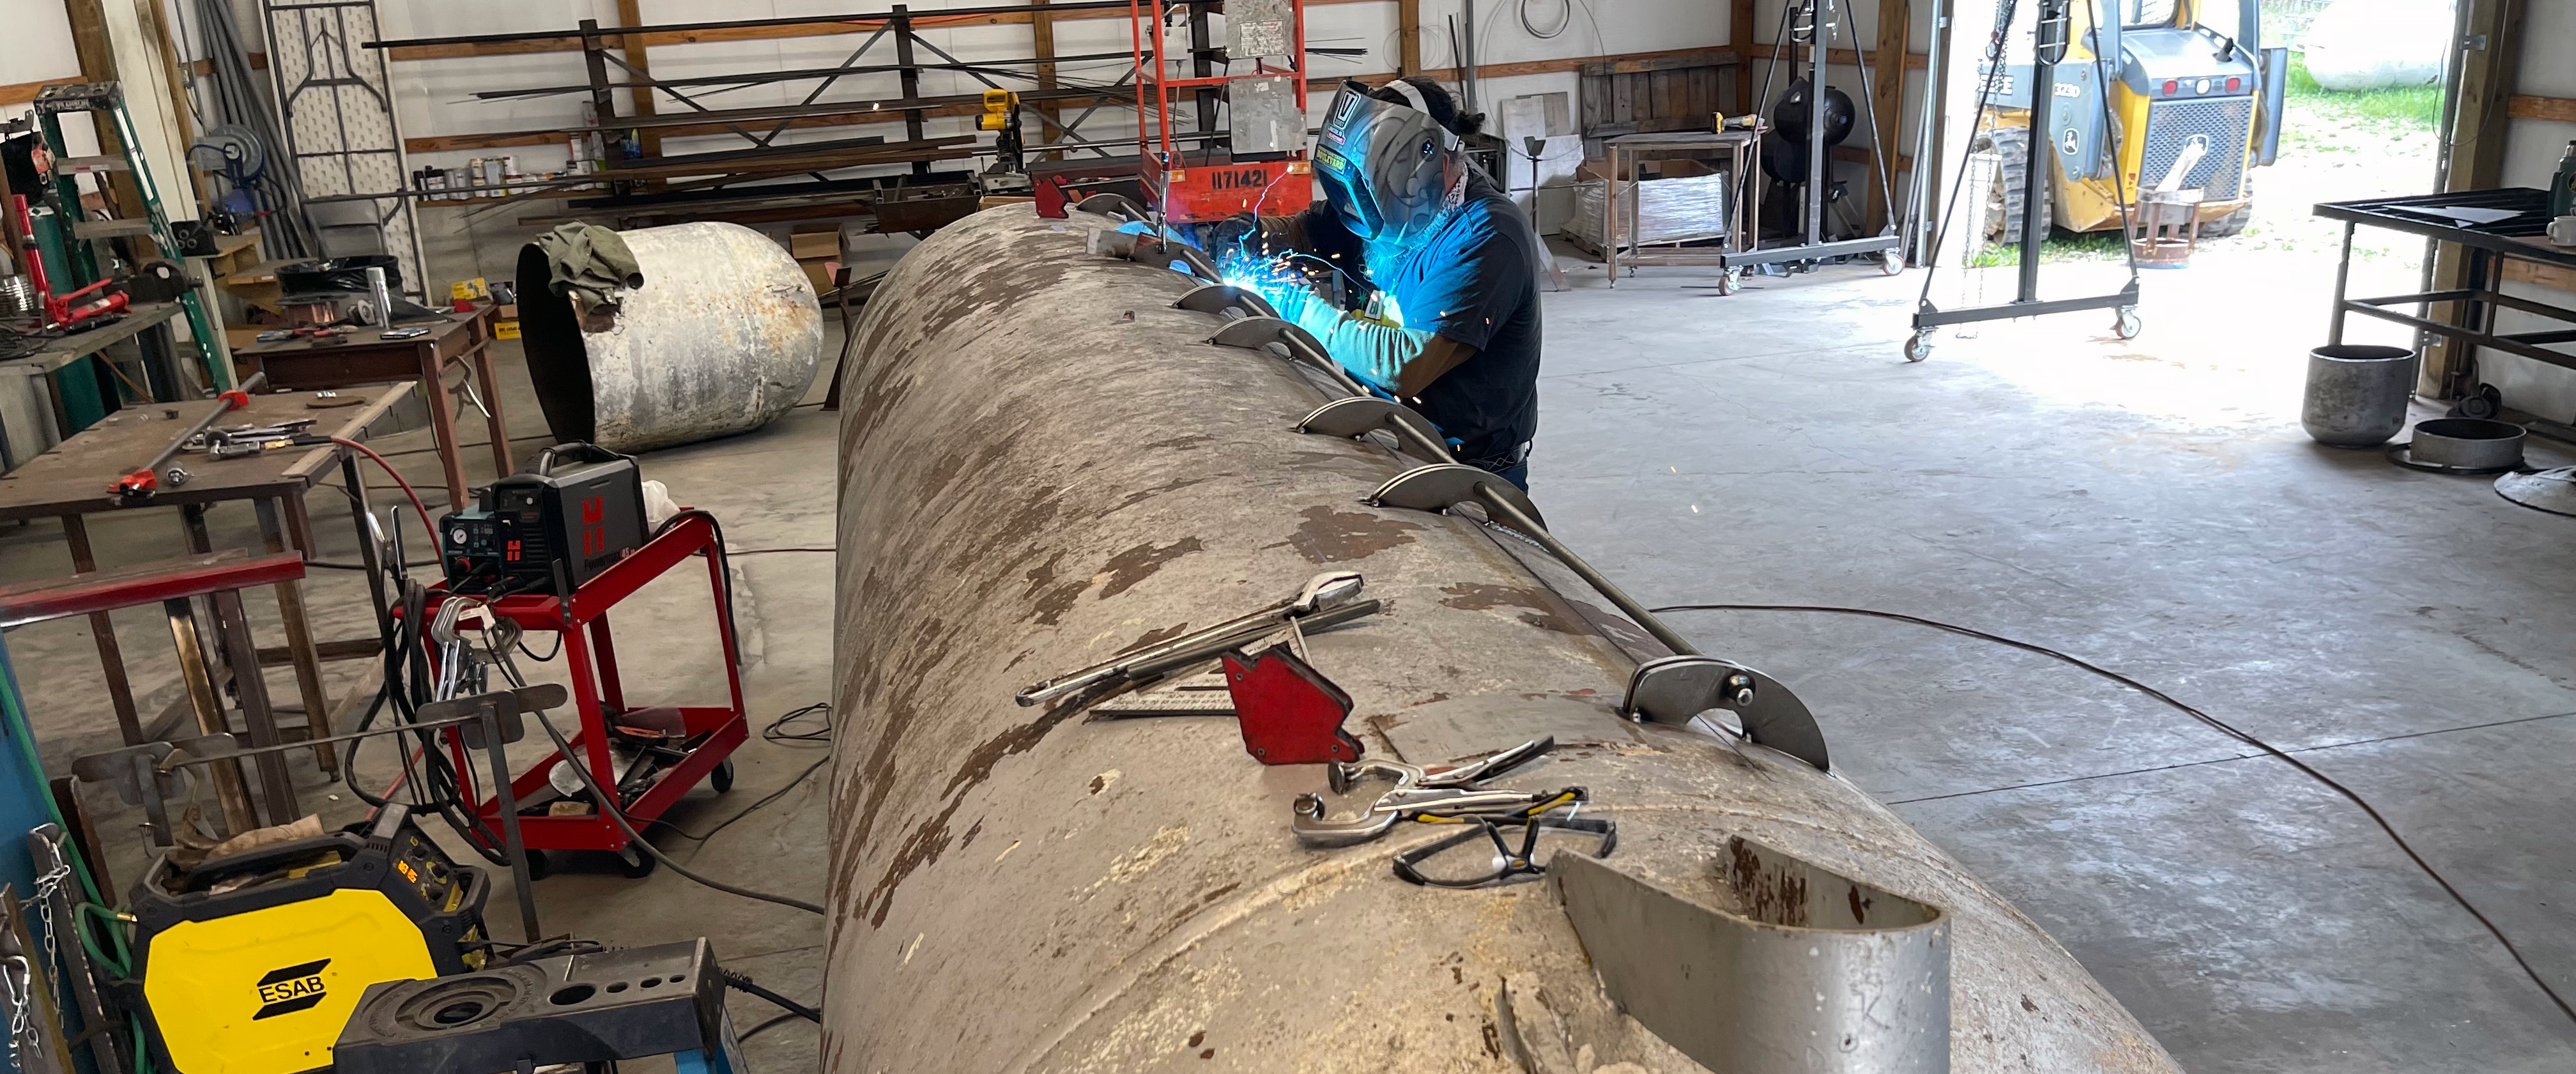
More on that: Fixing a Warped Smoker Door? Watch This Before You Touch It
Check: put a straightedge across the door cut. Spring of 3/16" or less, leave it. More than that, pull the tank true before you weld anything.
6. Fit it all up, then weld it out
On the stands, about 90% of the work is getting the firebox fit up, the doors cut and the hinges set.
Everything stays tacked while you're doing that. The tank still flexes, and that's on purpose. It lets you pull things true.
Fit your baffle the same way. Push it into place with the Porta Power, tack it, then let off.
Once everything is fit and the tank checks true, weld it out.
One seam you have to weld before the smoker ever goes on the trailer… the underside seam where the firebox meets the cook chamber. Once it's mounted, the rear crossmember sits right under it and you can't reach it.
Watch me fit a firebox on the 1,000 gallon build, and fix a cut I got wrong: How To Mount A Round Fire Box
Check: every part is fit and tacked and the tank checks true before you start weld-out.
Want to see a whole build, start to finish? Inside SmokerBuilderU you can follow a full 500 gallon build step by step, and bring your questions to the live Q&A I do every Wednesday night at 7pm Central. Join SmokerBuilderU
7. Build the trailer
Finish the cooker body, the cook chamber and the baffle before you start the trailer.
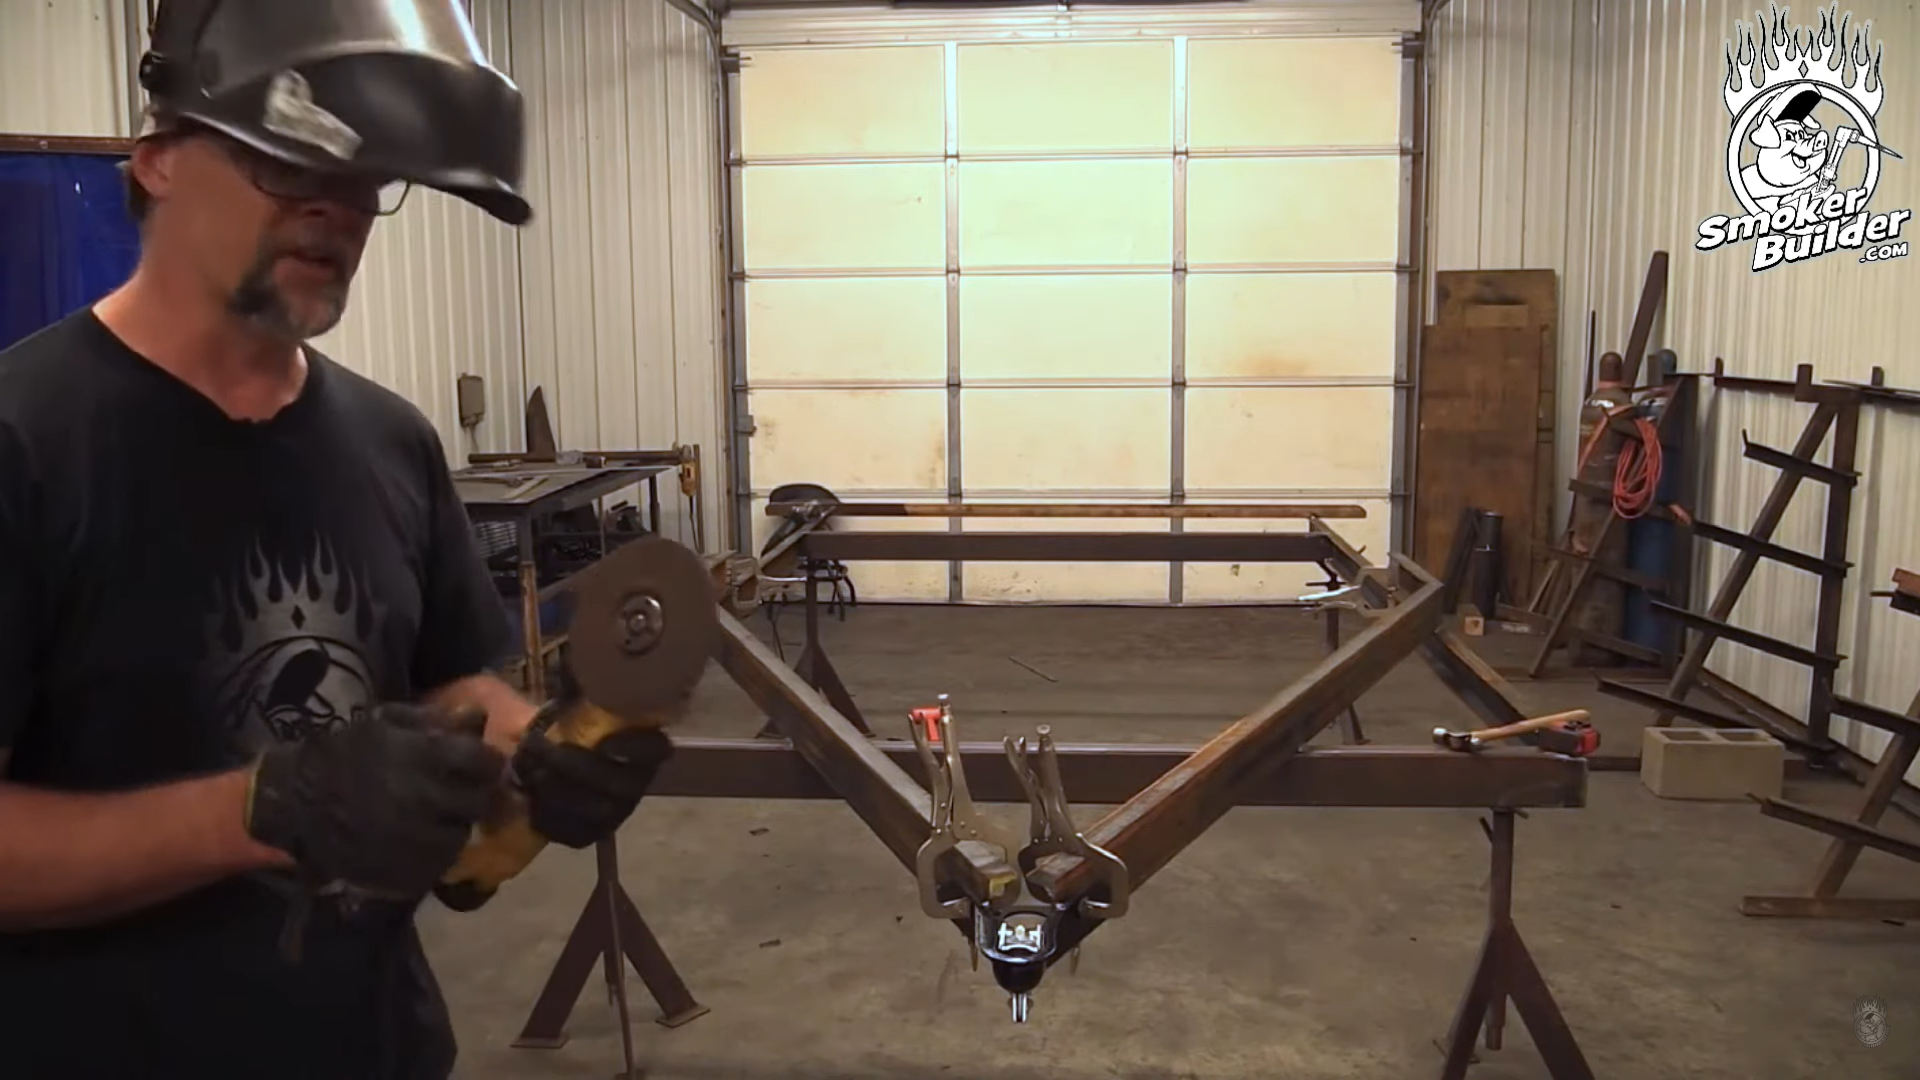
You need the finished smoker to know what it weighs, where it balances and where it mounts. That's what lays out the trailer.
I build the trailer upside down, weld out the bottom, then flip it. Axles get hung, the tongue and crossmembers get welded out.
Leave the fenders and light boxes tacked until the smoker's on. A fender may need to slide over to clear the firebox. Keep the firebox about 3 to 4 inches off the axle too… that's heat you don't want on it.
Axle size goes back to how big the pit is. There's an axle table in the first build article.
The rest of the trailer: How To Mount The Tongue And Coupler and Installing Tandem Axles
Check: the trailer is a finished rolling chassis before the smoker comes near it. Fenders and light boxes can still be tacked.
8. Mount the smoker on the trailer
By now where the smoker sits front to back is already decided. You set that when you placed the axles and crossmembers. So mounting is lift it, match it, bolt it.
- Powerwash it inside and out first. You'll be welding inside the cook chamber later and you don't want to be laying in loose scale.
- Pick it at the center of gravity, not the middle of the chamber. The firebox end is heavier. Rig to the lift rings but pick toward the firebox, and keep tension on the lifting device.
- Back the trailer under the smoker. Move the trailer, not the smoker.
- Match the smoker's pitch to the trailer. Not to true level.
- Dry set it. About 1/2" between the firebox and the rear crossmember. Chamber bottom resting on the front crossmember. Parallel to the frame rails.
- Bolt it, don't weld it. Shop-made brackets, 1/2" bolts, washers and nylocks, with a 1/2" washer spacer between the brackets so the smoker lifts back off.
- Pull it into final position with a ratcheting chain hoist. Take the rigging off only after it's bolted down.
Check: about 1/2" of clearance at the firebox, the washer gap is visible, and it's bolted before the rigging comes off.
9. Finish it
The trailer gets painted. The smoker doesn't. It stays bare steel and gets oiled.
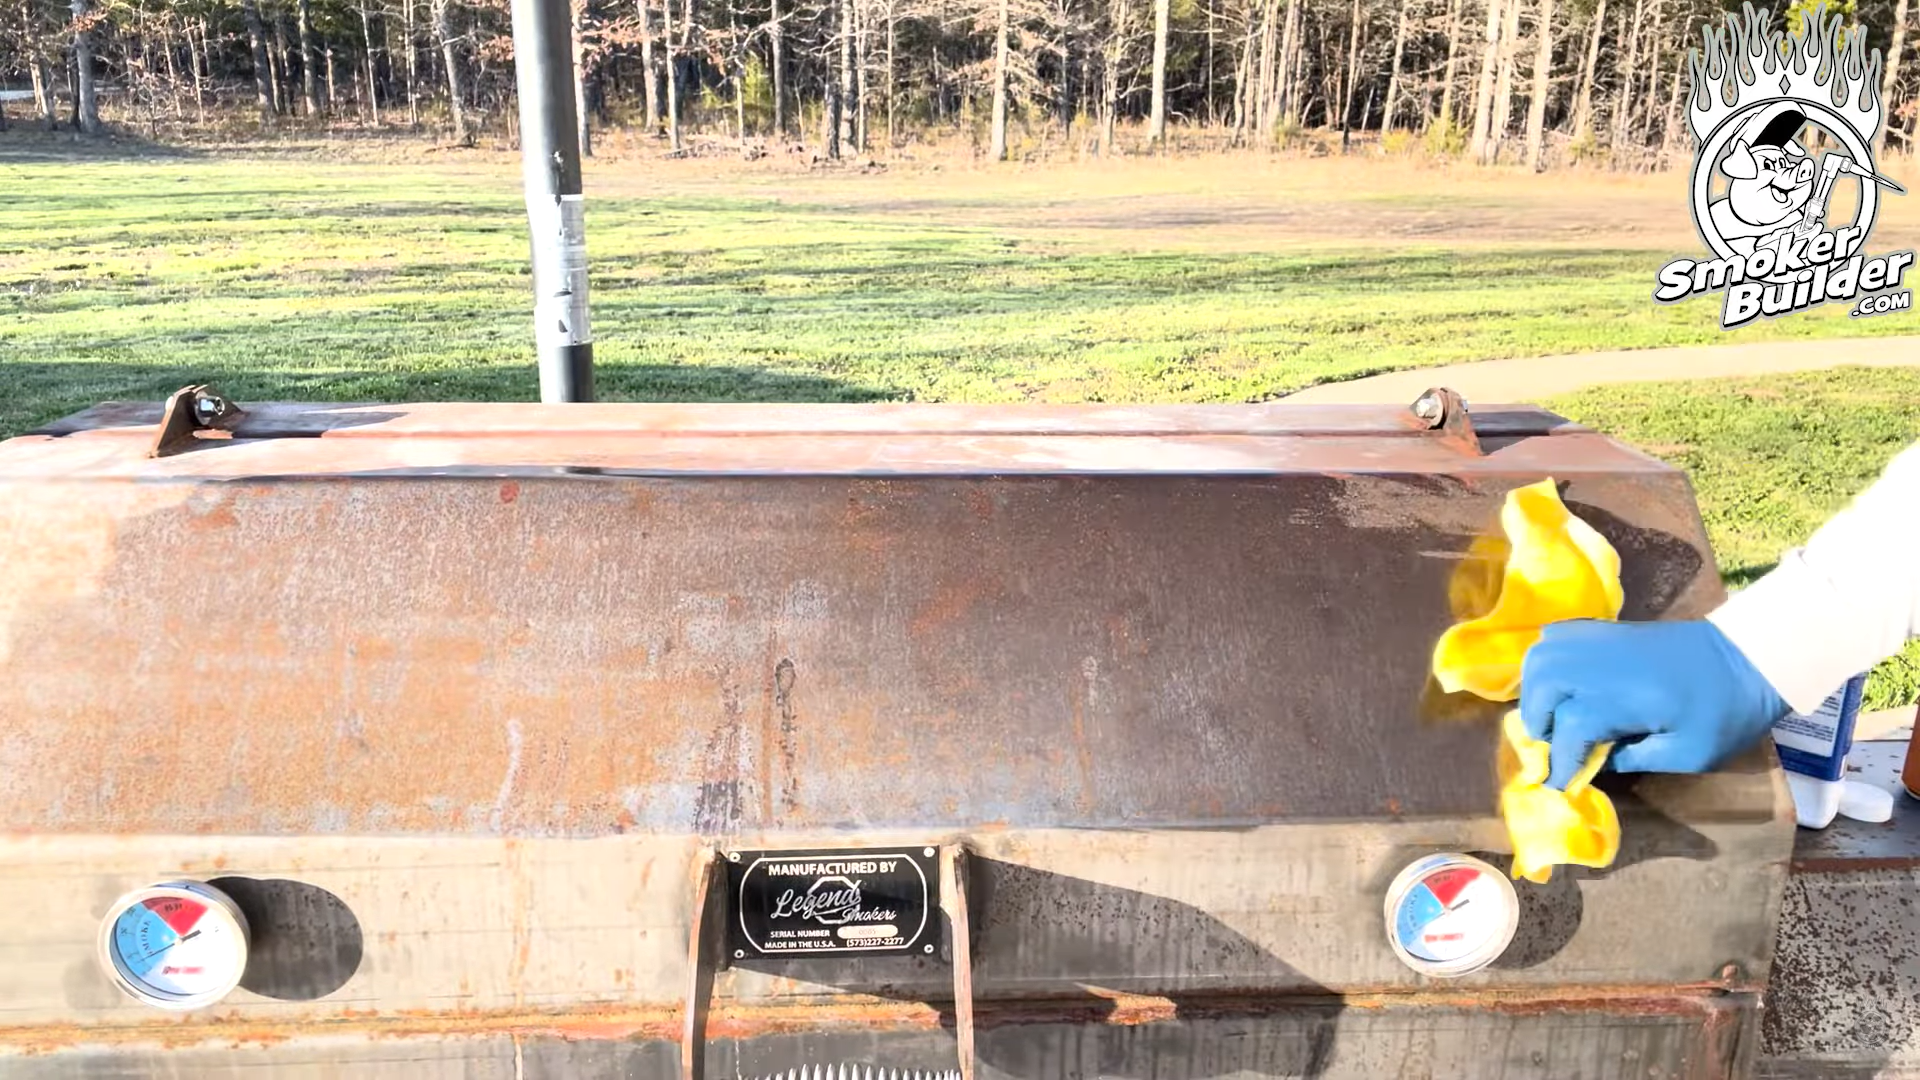
That's why it's bolted on with the washer spacer. Lift the smoker off, paint the trailer, drop the smoker back on.
Linseed oil goes on cold steel. Inside the cook chamber use a food-safe oil, and let it cure before you cook on it.
How I oil a smoker: How to Protect Your Smoker with an Oil Coating
Check: trailer painted and cured, smoker oiled, and the inside cured before the first cook.
Where to go from here
That's the order. Inside every one of those steps there's a lot of smaller decisions… and that's where having somebody to ask helps.
If this is your first build, you can follow a full 500 gallon build inside SmokerBuilderU step by step, and bring your questions to the live Q&A every Wednesday night at 7pm Central.
Join SmokerBuilderU
If you already know your size and style, every plan set I've drawn is at smokerplans.net. Fully dimensioned, ready to download, and some come with the CNC cut file for a steel supplier.
Browse smoker plans
PS. Firebox and collector first. Doors last.
Questions builders ask
What order do you build a smoker in?
On a propane tank offset: start with a purged tank, set up level stands, lay out the tank, cut and tack the firebox, then the collector box, cut the doors last, fit everything up and weld it out, build the trailer, mount the smoker, then finish it.
Should I cut the doors or the firebox first?
The firebox. Get the firebox and the collector box in and anchored first. Those two heads move things the worst, and anchoring them keeps the tank from moving when you cut the doors.
Can I cut all the holes in the tank at once?
No. Never cut every hole on a propane tank at once. The tank relaxes when you cut it, and cutting the doors at the same time as the firebox and everything else is how a tank twists on you.
Do I build the smoker or the trailer first?
The smoker. Finish the cooker body, cook chamber and baffle first. You need the finished smoker's weight, balance point and mount locations to lay out the trailer.
Why won't my smoker doors line up?
About 70% of the time it's the tank that moved, not the doors. Spring up to about 3/16" is fine. More than that, pull the tank true with a Porta Power, a lever chain hoist or round bar before you weld.